iPhone photo editing tips for Instagram
I take a lot of pictures.
I know if you have read here long you are going..
“um yes, we know.”
I take lots of pictures and 99% of those pictures are using my iPhone 6. In fact- my Canon Rebel SL1 only lands around my neck maybe once a month. My life is in high speed- and I usually have my phone in my back pocket- making it easy to whip out when the time is right.
Its definitely not fancy, but its definitely my favorite camera.
Over the last three years of using my phone as my main source for snapping life’s moments I have had my fair share of experimenting with photo editing apps. I’m no photographer, but I do have a vision for what I’d like to see when taking a picture. Thats the best part- being able to edit a good moment into a great photo right on your phone.
Not only is it important to being consistent with your posting (on Instagram), but selecting a filter/editing theme that is similar to ones you have used in the past will give your feed a clean and consistent look. Something that many people are drawn to and gives your handle the best ‘first impression’. For 99% of my photo editing I use PicTapGo. There are plenty of awesome apps out there, but this one works for me:)
My favorite ‘RECIPES’
I love the idea of being able to essentially create my own filters – PicTapGo actually has the capability to remember your most used ‘recipes’. It allows me to maintain that consistency I’m looking for- theres that word again:)
Spending 30 minutes editing your picture to absolute perfection- but in the end you have zero clue what filters or intensities you used and where. As you use the app more and more the app will save your most used combinations of filters- calling it my style, and you’ll always be able to see the last three recipes of filters you have used. While this is an awesome feature- even better is that you can save your recipes and titling it however you like!
MY STYLE
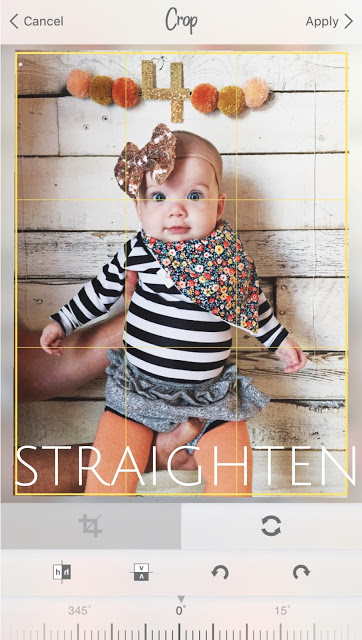
Layering each filter, you have the ability to reduce the intensity of the filter by using the slide at the bottom of the photo. Sliding it to the left creates a more subtle version of that particular filter. To see how you have changed the photo- hold down the left side of the photo and it will allow you to see the original.. and holding down the right side of the photo will show you how the photo looked before you added the most recent filters.
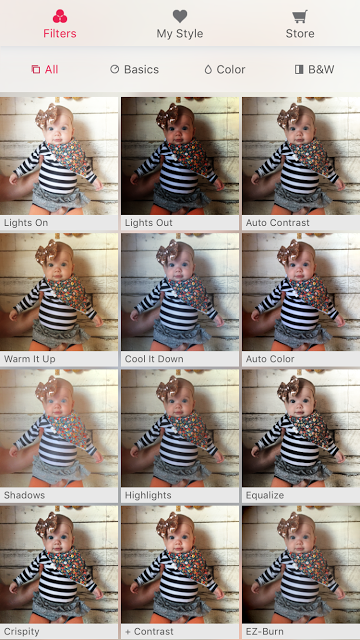
A few more of my filter favorites using PicTapGo:
lights on
crispity
warm it up
highlights
high fives
skinny jeans
air
milk + cookies
salt + pepper
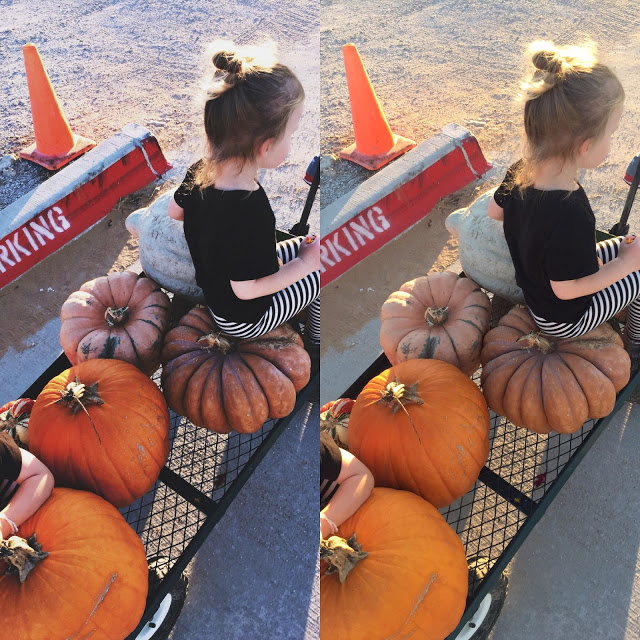
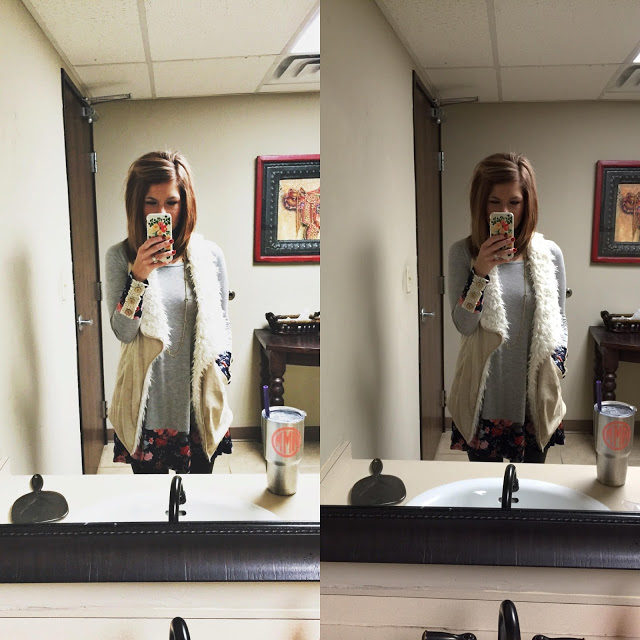
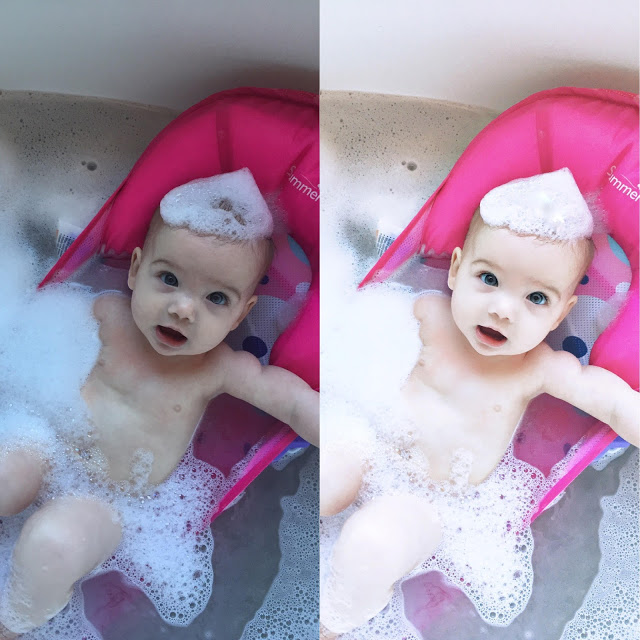
Below I’ve given the ‘recipes’ of each of the respective the photos from before and after editing.
auto color + lights on + crispity + high fives
warm it up + crispity + skinny jeans
auto color + crispity + warm it up + high fives
As you can see- most of my before photos are much darker and less impressionable than the finished product. I absolutely focus on using as much natural light as possible. But even those don’t always come out as bright and beautiful as I would like. One of the easiest and most basic way to edit a photo is by brightening up and changing the lighting of the photo. If you do nothing else- this will up your editing game tremendously.
The BASICS
lights on // lights out // warm it up // cool it down
these four filters are a great starting point to bring life to your pictures. I suggest starting here before adding the finishing touches to your photos.
lights on + crispity + air
lights on + crispity + high fives
auto color + crispity + highlights + air
Speaking of those finishing touches! I was introduced to FaceTune almost year ago and use it pretty consistently for those perfect touches to finish off my photo editing. It is probably the most expensive ‘fluffy’ app on my phone — fluffy meaning that its not a complete necessity — at $3.99. Although is it much more expensive than say, those free apps out there- I promise its worth the investment.
SMOOTH
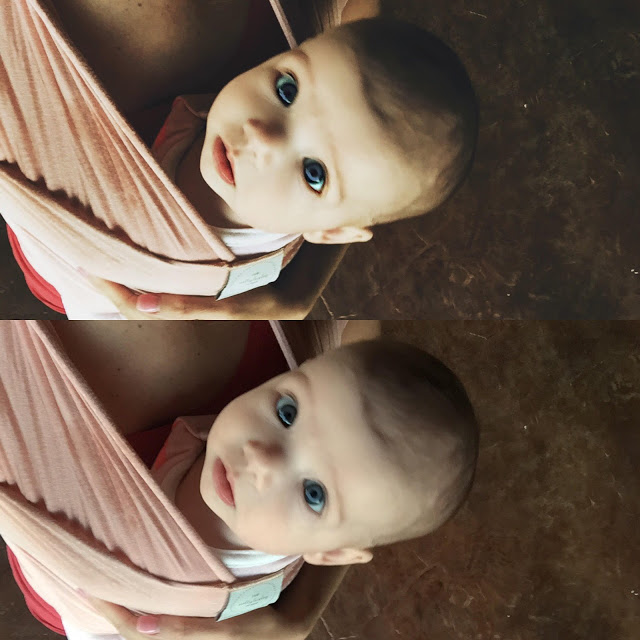
One of my favorite editing tools of Facetune is smooth. It smooths out the blur or shadowing of a photo- and not to mention diminishes the patchy spots due to lighting. Plus, I’ll be the first to admit that I always love the look of my skin to be just a little bit smoother.
PATCH
I don’t use this patch feature every time, but when I need to cover up weird spacing or discoloration- in the above photo there was a space in the bubbles on top of Baker’s head- so I added a patch to fill in where those bubbles were missing.
DETAILS
This feature is like the icing on the cake. It is my favorite and go-to after the smooth feature.. simply zoom in and swipe over whatever I want to clarify a little more, usually eyes, or enhancing her long eyelashes- and I love this feature for when a really great photo is just a little blurry because my phone didn’t focus quick enough. I also use this feature when I want to enhance wording on a shirt or make the details of a hair bow pop..It always makes Baker’s really cool grey eyes a little bolder- bringing
out their true beauty! I do want to make note that it is really easy to over-do it when using this feature. You run the risk of losing the integrity of the photo.. so use ‘details’ sparingly and try hard not to create an added harshness to whatever you are trying to enhance.
PicTapGo Editing:
auto color + crispity + lights on + air
Facetune Editing:
smooth + patch + details
While I do play around with Afterlight and VSCO, PicTapGo and Facetune are my favorites these days.
Quick. Convenient. Easy. I’m a fan of all three of those words.
You’ll have to play around with these apps, familiarize yourself with how they work and what features you prefer.. and sometimes you’ll take a photo that no amount of editing can fix the lighting or decrease all that yellow..
just say yes to the black and white:)

December 31, 2015











Great tips! Thanks!
awesome help! thank you!!
Thank you for the awesome tips, I can't wait to try them both out x